aprilaire 500 humidifier installation manual
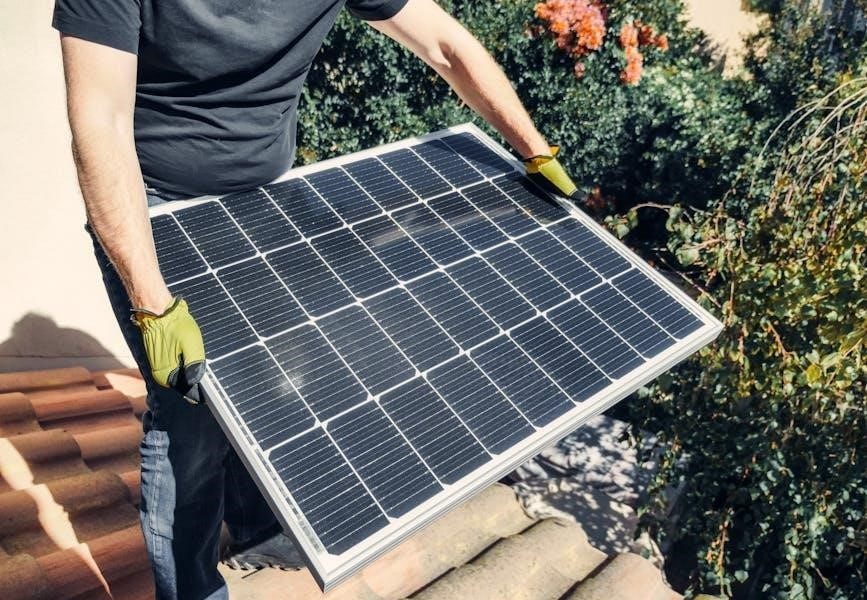
The Aprilaire 500 is a whole-house evaporative humidifier designed to work seamlessly with HVAC systems, providing efficient and reliable humidity control for improved indoor air quality and comfort.
Overview of the Aprilaire 500 Model
The Aprilaire 500 is a whole-house evaporative humidifier designed to integrate seamlessly with HVAC systems, offering flexible installation options. It can be mounted on either the supply or return plenum of a forced-air handling system, making it adaptable to various home configurations. The unit uses a bypass duct to draw warm air from the HVAC system, which is then passed through a water-soaked evaporator pad to add moisture to the air. This design ensures efficient humidity distribution throughout the home. The Aprilaire 500 is compatible with both conventional and heat pump systems, though it may require hot water for optimal performance in heat pump setups. Its compact design and robust construction make it a reliable choice for maintaining consistent indoor humidity levels year-round.
Key Features and Benefits
The Aprilaire 500 offers advanced features that enhance its performance and user experience. It includes a built-in bypass damper, allowing for precise control over airflow, and is designed with a durable evaporator pad that ensures efficient moisture evaporation. The unit is compatible with both supply and return plenum installations, providing flexibility for different HVAC setups. Additionally, it operates quietly and requires minimal maintenance, making it a convenient solution for whole-house humidity control. Its ability to work with various water supply specifications ensures consistent performance across different home environments. These features collectively contribute to improved indoor air quality, reduced static electricity, and enhanced comfort during dry months. The Aprilaire 500 is an efficient and reliable choice for maintaining optimal humidity levels in residential spaces.

Safety Precautions and Warnings
Ensure proper installation by a qualified HVAC technician to avoid risks. Follow all safety guidelines to prevent electrical hazards, water damage, and ensure safe operation of the unit.
General Safety Guidelines
Always turn off power to the HVAC system before starting installation. Use protective gear like gloves and safety glasses. Ensure the area is well-ventilated and clear of debris. Follow the manufacturer’s instructions precisely to avoid electrical or water-related hazards. Never attempt to install the humidifier without proper training or tools. Keep children and pets away during installation. Properly secure all connections to prevent leaks or electrical issues. Regular maintenance is crucial for safe operation—inspect and clean the unit as recommended. Failure to adhere to these guidelines may void the warranty or lead to unsafe conditions.
Importance of Professional Installation
Professional installation is crucial for the Aprilaire 500 to ensure optimal performance, safety, and warranty validity. Licensed HVAC technicians have the expertise to connect the humidifier correctly to your heating and cooling system, ensuring proper integration. They will assess your home’s specific needs, such as humidity levels and ductwork layout, to customize the setup. Improper installation can lead to issues like water damage, electrical hazards, or inefficient humidity control. Additionally, manufacturers often require professional installation to honor warranties, protecting your investment. Hiring a qualified installer guarantees compliance with safety standards and ensures the system operates efficiently, providing reliable humidity control for years to come.

System Requirements and Compatibility
The Aprilaire 500 is designed to integrate with most HVAC systems, requiring a 120V power supply and compatible ductwork. It operates efficiently with forced-air systems, ensuring seamless humidity control.
Compatibility with HVAC Systems
The Aprilaire 500 humidifier is specifically designed to work in conjunction with heating, ventilating, and air conditioning (HVAC) systems, ensuring optimal performance and integration. It is compatible with both forced-air heating and cooling systems, making it a versatile solution for whole-house humidity control. The unit can be installed on either the supply or return plenum, offering flexibility based on system requirements. Additionally, it is suitable for use with heat pumps when hot water is used to supplement the reduced supply air temperature. This compatibility ensures that the Aprilaire 500 can be seamlessly integrated into various HVAC setups, providing reliable and efficient humidity management throughout the home.
Recommended Water Supply Specifications
The Aprilaire 500 humidifier requires a reliable water supply to operate efficiently. It is recommended to use water with a temperature range of 60°F to 100°F (15°C to 38°C) for optimal performance. The water pressure should be between 40 psi and 80 psi to ensure proper flow and prevent damage to the system. For heat pump systems, using hot water is advised to compensate for lower air temperatures. The humidifier is designed to work with standard household water supplies, but it is crucial to ensure the water quality meets local standards to avoid mineral buildup and maintain hygiene. Proper water supply specifications are essential for the unit’s efficiency, longevity, and overall performance in maintaining desired humidity levels.
Choosing the Installation Location
The installation location of the Aprilaire 500 must be carefully selected for optimal performance. It can be installed on either the supply or return plenum of a forced air handling system, offering flexibility in placement.
Optimal Placement in the Home
The Aprilaire 500 should be installed in a location that ensures efficient operation and even humidity distribution throughout the home. Typically, it is mounted on the ductwork near the HVAC system to maximize performance. Proper placement allows the humidifier to integrate seamlessly with the home’s heating and cooling system. Ensure the unit is installed in an area with adequate clearance for maintenance and service. Avoid placing it in areas prone to water damage or extreme temperatures. The ideal location should also provide easy access to a water supply and drainage system. Proper installation ensures the humidifier operates effectively, maintaining optimal indoor humidity levels for comfort and health.
Considerations for Duct Placement
When installing the Aprilaire 500, proper duct placement is crucial for optimal performance. Ensure the bypass duct is correctly sized and materials are compatible with the system. The duct should be routed to avoid sharp bends or kinks, which can restrict airflow. Placement near the HVAC system ensures efficient integration. Choose a location with easy access for maintenance. Avoid areas exposed to extreme temperatures or moisture. Ensure the duct is securely fastened to prevent vibration or noise. Proper insulation may be required in unconditioned spaces. Always follow local building codes and manufacturer guidelines for duct installation. Correct duct placement ensures even humidity distribution and system efficiency, enhancing overall comfort and performance.
Installation Steps
The Aprilaire 500 installation involves preparing tools, connecting to the HVAC system, setting up the water supply, installing the drain, and mounting the bypass duct. Ensure all steps are followed carefully for proper functionality and safety, adhering to the manufacturer’s guidelines and local regulations. Professional installation is highly recommended to avoid potential issues and warranty voidance.
Preparation and Tools Needed
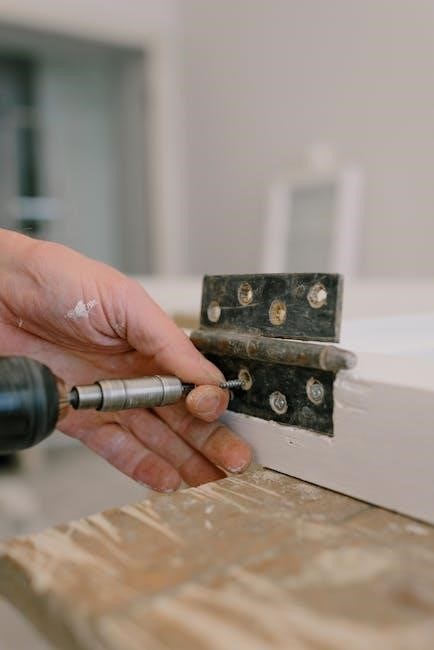
Before installing the Aprilaire 500, ensure you have the necessary tools and materials. A drill, screwdrivers, wrenches, and duct clamps are essential. You’ll also need tubing for the water supply and drain lines. Shut off the power and water supply before starting. Verify compatibility with your HVAC system and ensure the installation location is optimal. Refer to the manual for specific requirements. Wear protective gear like gloves and safety glasses. Gather all components, including the humidifier, bypass duct, and mounting hardware. Double-check local plumbing and electrical codes to ensure compliance. Proper preparation ensures a smooth and safe installation process. Follow all safety guidelines to avoid accidents or damage to the system.
Connecting to the HVAC System
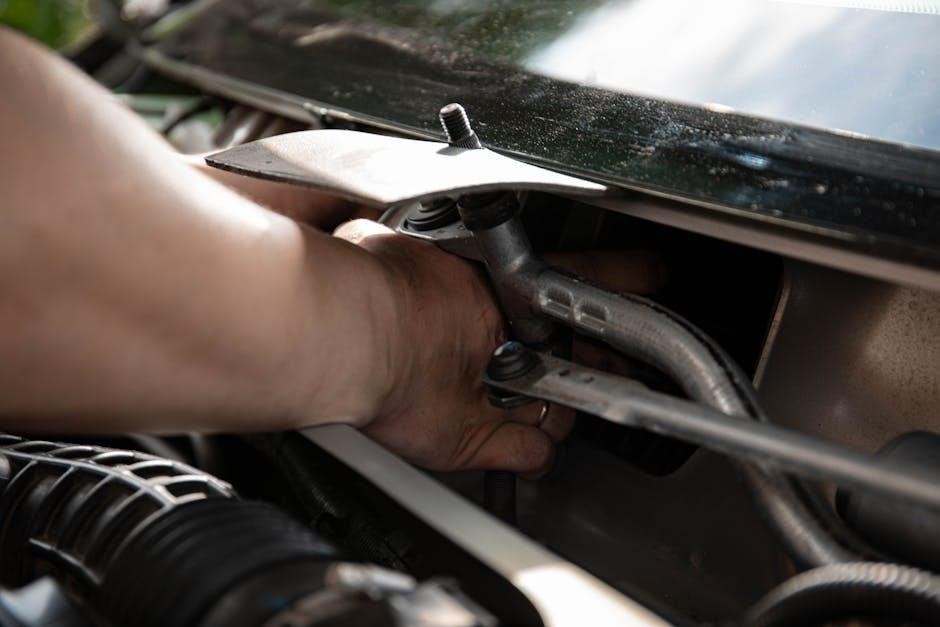
Connecting the Aprilaire 500 to your HVAC system requires precise steps to ensure proper integration. Locate the plenum and mark the installation point. Use a duct clamp to secure the bypass duct, ensuring a tight seal. Connect the other end to the humidifier’s inlet. If your system has a heat pump, consider using hot water for optimal performance. Ensure the bypass duct is correctly sized and positioned to avoid airflow restrictions. Verify that the humidifier operates in sync with your HVAC blower. Consult the manual for specific duct size recommendations; Proper connection ensures efficient humidity distribution and maintains system performance. Always follow manufacturer guidelines to prevent installation issues or reduced efficiency.
Setting Up the Water Supply Line
Setting up the water supply line for the Aprilaire 500 involves connecting it to a reliable water source. Choose a location near the humidifier for convenience. Ensure the water pressure is within the recommended range (typically 40-80 PSI). Install a saddle valve on the water supply line to connect the humidifier. Use a high-quality, food-grade tubing to prevent contamination. Connect one end of the tubing to the saddle valve and the other to the humidifier’s water inlet. Secure the tubing with clips to avoid kinking or damage. If using hard water, consider installing a water filter upstream to prevent mineral buildup. Finally, turn on the water supply and check for leaks at all connections. Proper setup ensures consistent water flow and optimal humidifier performance.
Installing the Drain System
Installing the drain system for the Aprilaire 500 is crucial to ensure proper operation and prevent water damage. Locate the drain near a floor drain or condensate pump. Use 1/2″ PVC piping to connect the humidifier’s drain outlet to the selected drain location. Ensure the drain line is sloped downward slightly to allow proper water flow. Avoid connecting the drain directly to a sewer line without a trap, as this can create odors or backflow. Secure the drain line with clips to prevent movement. If the drain is not used seasonally, drain the system during shutdown to avoid freezing. Regularly inspect the drain line for blockages or mineral buildup. Proper installation ensures efficient operation and prevents potential water damage or mold growth.
Connecting Electrical Components
Connecting the electrical components of the Aprilaire 500 requires careful attention to ensure safe and proper operation. Begin by locating the 24V transformer, typically found near the HVAC system. Connect the humidifier’s control wires to the transformer, ensuring correct polarity and terminal alignment. Use the color-coded wires (common, “R”, and “C”) to match the corresponding terminals on the transformer and humidifier. Secure all connections tightly to prevent loose wires. Double-check the wiring diagram provided in the manual to confirm proper connections. Once connected, test the system by turning on the HVAC fan to ensure the humidifier activates correctly. Proper electrical connections are essential for safe operation and to avoid potential damage or malfunction. Always follow local electrical codes and safety guidelines during installation.
Mounting the Bypass Duct
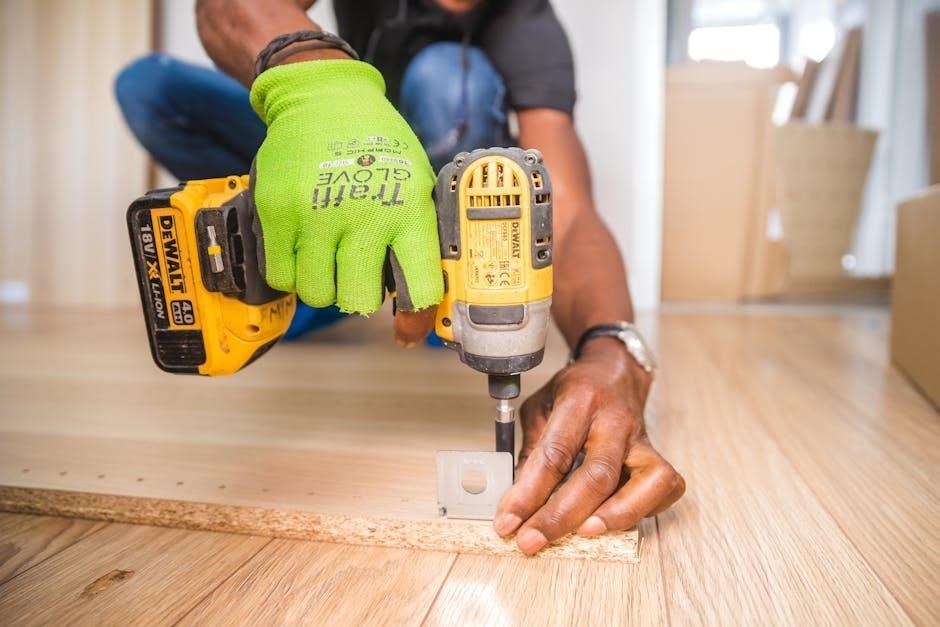
Mounting the bypass duct is a critical step in the Aprilaire 500 installation process. The bypass duct should be installed on either the supply or return plenum of your HVAC system, depending on the configuration; Use sheet metal screws to secure the duct to the plenum, ensuring a tight, leak-proof seal. Position the duct so that it allows for proper airflow between the humidifier and the HVAC system. The bypass duct should be installed in a way that minimizes restrictions to airflow, ensuring optimal performance. Once mounted, inspect the connection to ensure there are no gaps or leaks. Proper installation of the bypass duct is essential for the humidifier to function effectively and maintain even humidity distribution throughout your home.
Final Installation Checks
After completing the installation, perform a thorough inspection to ensure all components are correctly connected and functioning properly. Check the bypass duct for secure connections and proper alignment with the HVAC system. Verify that the water supply line is connected without leaks and that the drain system is properly installed and draining excess water. Inspect all electrical connections to ensure they are securely attached and meet local electrical codes. Turn on the HVAC system and humidifier to test for proper operation, ensuring humidity levels are evenly distributed. Finally, review the installation manual to confirm all steps were followed and settings are correctly configured for optimal performance.
Operating the Aprilaire 500
The Aprilaire 500 operates by using a humidistat to regulate moisture levels, working in harmony with your HVAC system’s blower to distribute humidified air evenly throughout your home.
Understanding Humidistat Settings
The Aprilaire 500 features a built-in humidistat that automatically adjusts humidity levels based on your settings. It monitors the home’s moisture levels and activates the humidifier when dry air is detected. The humidistat ensures optimal indoor humidity, typically between 30-50%, to prevent over-humidification and promote comfort. Adjust the settings by rotating the dial to increase or decrease the desired humidity level. Proper calibration is essential to avoid issues like condensation or dryness. Refer to the installation manual for specific instructions on setting and calibrating the humidistat for accurate performance. Regular checks ensure consistent operation and maintain your home’s air quality effectively.
Seasonal Start-Up and Shutdown
Seasonal start-up and shutdown are crucial for maintaining the Aprilaire 500’s efficiency and longevity. Before the heating season, ensure the water supply is turned on and the humidifier is properly connected to the HVAC system. Check for any leaks or blockages in the system. In the spring, after the heating season ends, shut off the water supply and drain the system thoroughly to prevent freezing or mold growth. Clean the unit and inspect for damage. Proper seasonal maintenance ensures optimal performance and prevents potential issues during operation. Always follow the manufacturer’s guidelines for start-up and shutdown procedures to maintain warranty validity and system integrity. Regular checks help sustain consistent humidity levels and overall home comfort.

Maintenance and Upkeep
Regular cleaning and inspection of the Aprilaire 500 ensure optimal performance. Replace the evaporator pad annually and check for mineral buildup to maintain efficiency and hygiene.
Cleaning and Sanitizing the Unit
Cleaning and sanitizing the Aprilaire 500 are essential for maintaining efficiency and preventing mold growth. Turn off power and water supply before starting. Use a soft brush or vacuum to remove dust from the evaporator pad and interior. For sanitizing, mix a solution of 1 cup household bleach with 1 gallon of water. Apply the solution to all surfaces, allowing it to sit for 10-15 minutes. Rinse thoroughly with clean water to ensure no residue remains. Regular cleaning prevents bacterial buildup and ensures clean moisture is distributed throughout your home. This process should be performed at least once a month during heavy use.
Replacing the Evaporator Pad
The evaporator pad in the Aprilaire 500 should be replaced annually or as needed to maintain optimal performance. Turn off the humidifier and water supply before starting. Locate the pad, typically held in place by clips or screws. Remove the old pad carefully to avoid damaging surrounding components. Inspect the area for any debris or mineral buildup and clean if necessary. Install the new pad, ensuring it fits securely and aligns properly. Replace any clips or screws removed. Resume water supply and power, then test the humidifier to ensure it operates smoothly. Regular pad replacement prevents reduced airflow and maintains humidity levels effectively, ensuring your system runs efficiently year-round.
Inspecting and Replacing Filters
Regular inspection and replacement of filters are crucial for maintaining the efficiency and performance of the Aprilaire 500 humidifier. Locate the filter, typically found in the evaporator pad assembly or a designated filter compartment. Turn off the unit and disconnect power before accessing the filter. Inspect for dust, debris, or mineral buildup. If cleaning is possible, use a soft brush or vacuum. Replace the filter with an Aprilaire-approved replacement if it’s damaged or excessively dirty. Ensure the new filter is properly seated and aligned. Reassemble any components and restore power. This maintenance step prevents poor airflow, ensures optimal humidity control, and extends the lifespan of the humidifier. Replace filters every 1-3 months depending on usage and water quality for best results.
Troubleshooting Common Issues
Identify and resolve issues promptly to maintain optimal performance. Common problems include low humidity output, water leakage, or electrical malfunctions. Always refer to the manual for specific solutions and safety guidelines to ensure effective troubleshooting and prevent further damage. Regular maintenance and professional assistance can help address complex issues efficiently. Keep the system clean and well-maintained to avoid recurring problems and ensure reliable operation;
Low Humidity Output
Low humidity output can result from improper installation, clogged filters, or incorrect humidistat settings. Ensure the unit is installed correctly and connected to the HVAC system. Clean or replace filters as needed to maintain airflow. Check the humidistat settings and adjust them to match your desired humidity levels. Verify that the water supply is functioning properly and not restricted. If issues persist, inspect the evaporator pad for damage or mineral buildup and replace it if necessary. Regular maintenance, such as cleaning and sanitizing the unit, can also help restore optimal performance. Always refer to the installation manual for detailed troubleshooting steps. Proper care ensures consistent humidity levels and prevents further complications.
Leakage or Water Damage
Leakage or water damage can occur due to improper installation, clogged drain systems, or faulty connections. Inspect the water supply line for cracks or loose fittings and ensure the drain system is functioning correctly. Check for condensation buildup, which may indicate excessive humidity levels. Verify that the humidifier is installed level and that the drain system is properly sloped to prevent water from pooling. If leakage persists, consult a professional to assess the installation and make necessary adjustments. Addressing water damage promptly is crucial to avoid mold growth or structural issues. Regular maintenance, such as cleaning and inspecting the unit, can help prevent future occurrences; Always follow the installation manual guidelines to ensure proper setup and functionality.
Electrical or Control Issues
Electrical or control issues with the Aprilaire 500 can arise from improper wiring, faulty sensors, or power supply problems. Ensure all connections are secure and meet local electrical codes. If the humidistat malfunction, check the settings and wiring. Verify the circuit breaker hasn’t tripped. If issues persist, consult a qualified technician. Regularly inspect electrical components and follow the installation manual for troubleshooting steps. Proper maintenance can prevent electrical issues and ensure safe operation. Always adhere to safety guidelines when handling electrical systems to avoid hazards. If unsure, contact a professional for assistance. Addressing electrical issues promptly prevents further complications and ensures optimal performance. Regular checks can help identify potential problems early, maintaining reliability and efficiency.
The Aprilaire 500 humidifier offers reliable performance and improved air quality. For further assistance, refer to the official Aprilaire website or contact their customer support team.
Final Tips for Optimal Performance
For optimal performance of your Aprilaire 500 humidifier, ensure regular maintenance, such as cleaning the evaporator pad and checking water flow. Always use distilled or treated water to minimize mineral buildup. During installation, verify proper alignment of the bypass duct and secure all connections to avoid air leaks. Seasonally inspect the drain system to prevent blockages. Maintain the recommended humidity levels to avoid over-humidification, which can lead to mold growth. Finally, consult the official Aprilaire manual or contact certified professionals for any unresolved issues. Proper care ensures long-term efficiency and enhances indoor air quality for a healthier living environment.
Accessing Manufacturer Support
Aprilaire provides comprehensive support for the 500 humidifier through their official website, offering downloadable manuals, installation guides, and troubleshooting resources. Customers can contact their dedicated customer service team for technical assistance or warranty inquiries. Additionally, authorized dealers and certified HVAC professionals are available to address installation and maintenance needs. For discontinued models, archived product information is accessible online. Utilize these resources to ensure proper installation and operation, maximizing the longevity and efficiency of your Aprilaire 500. Regularly check the manufacturer’s website for updates and guidelines to maintain optimal performance and warranty compliance.
Related Posts

da lite projector screen manual
Need a reliable manual pull-down projector screen? Explore Da-Lite’s range at JointStuff.com – quality, durability & the perfect viewing experience!

tiffin motorhomes service manuals pdf free download
Need a Tiffin Motorhome service manual? Download PDF versions for free! Troubleshooting, maintenance & repair guides at your fingertips. Easy access & instant download!

compete usa manual
Need Compete USA manuals? JointStuff has you covered! Find detailed guides, resources & everything you need to succeed. Explore now – it’s a game changer!