
da lite projector screen manual
Da-Lite Projector Screen Manual: A Comprehensive Guide
Da-Lite screens offer exceptional viewing experiences, and this manual provides detailed instructions for setup, optimization, and maintenance, ensuring peak performance and longevity.
Da-Lite has been a leading innovator in projection screen technology for decades, serving both residential and commercial markets. Their commitment to quality and performance has established them as a trusted brand among home theater enthusiasts and professional integrators.
Da-Lite screens are engineered to enhance the projected image, offering a variety of materials and designs to suit diverse viewing environments and projector types. From matte white surfaces for general-purpose use to high-contrast materials for darkened rooms, Da-Lite provides solutions for every need.
This manual will guide you through the process of selecting, installing, and maintaining your Da-Lite projector screen, ensuring optimal picture quality and years of reliable service. Understanding your screen’s features and following these instructions will maximize your viewing enjoyment.
Understanding Different Da-Lite Screen Types
Da-Lite offers a diverse range of projector screen types, each designed for specific applications. Cosmopolitan Electrol screens are motorized, offering convenient retraction and precise control. Challenger series screens are typically tripod-based, providing portability and ease of setup for temporary installations.
Advantage screens often feature fixed frames, delivering a permanently taut and wrinkle-free viewing surface. Beyond these, Da-Lite provides tensioned screens to eliminate waves and maintain flatness, and floor-rising screens for discreet integration.
The choice depends on your room setup, portability needs, and desired image quality. Understanding these distinctions is crucial for selecting the screen that best complements your projector and viewing environment, maximizing your home theater experience.
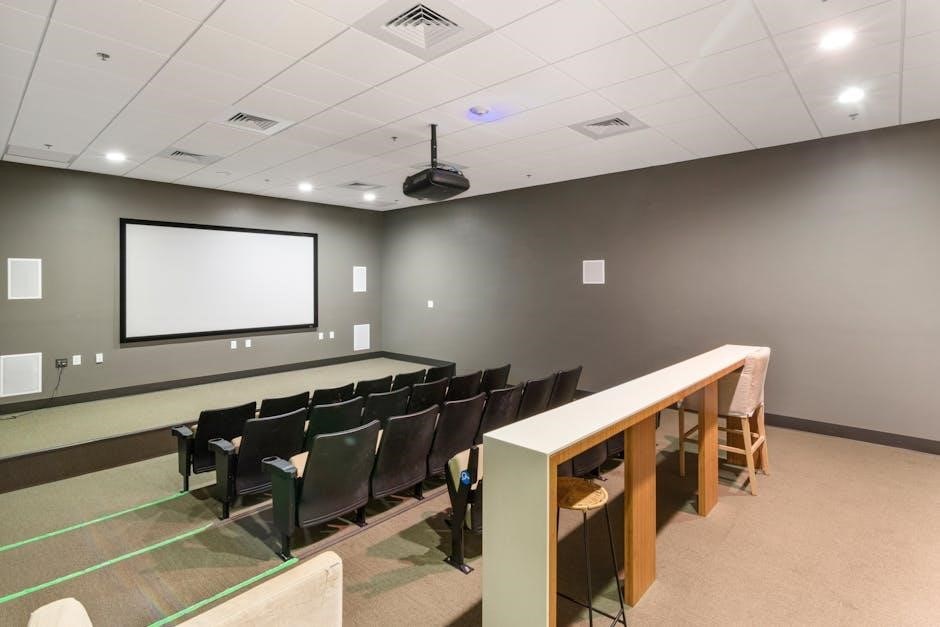
Setting Up Your Da-Lite Projector Screen
Proper setup is vital for optimal performance. This section details unpacking, assembly, mounting, and securing the screen material for a flawless viewing experience.
Unpacking and Initial Inspection
Carefully unpack your Da-Lite projector screen, taking inventory of all components against the included parts list. Inspect the screen material for any damage incurred during shipping, such as rips, tears, or creases. Check the frame or casing for dents or structural issues.
Verify all hardware – screws, bolts, brackets – are present and undamaged. If any parts are missing or damaged, immediately contact Da-Lite customer support for replacements. Retain the original packaging materials for potential returns or warranty claims. A thorough initial inspection prevents issues later and ensures a smooth setup process. Document any pre-existing damage with photographs for warranty purposes.
Assembling a Tripod Screen
Extend the tripod legs outwards until they lock into a stable position, ensuring even weight distribution. Attach the screen case to the tripod using the provided mounting hardware, tightening securely but avoiding over-tightening. Carefully unroll the screen material, checking for any obstructions or damage.
Adjust the screen height using the locking mechanism on the tripod, ensuring it’s level and at the desired viewing height. Test the screen’s raising and lowering functionality to confirm smooth operation. Ensure the tripod is stable before use, and avoid placing it on uneven surfaces. A properly assembled tripod screen provides a portable and convenient viewing solution.
Mounting a Wall-Mounted Screen
Locate wall studs using a stud finder to ensure secure mounting; use appropriate screws for the wall type. Attach the mounting brackets to the screen case, following the provided diagrams. Position the screen at the desired height and carefully mark the bracket locations on the wall.
Drill pilot holes and securely fasten the mounting brackets to the wall studs. Carefully lift and attach the screen case onto the mounted brackets, ensuring it locks into place. Verify the screen is level and stable before use. Proper wall mounting provides a permanent and aesthetically pleasing installation.
Securing the Screen Material
Ensure the screen material is tight and evenly spaced within the frame or casing. Inspect the screen edges for proper alignment and tensioning. Utilize the screen’s tensioning system – often adjustable tabs or rollers – to eliminate wrinkles or waves. For motorized screens, verify the roller mechanism operates smoothly and retracts the material evenly.
Avoid over-tensioning, which can damage the material. Periodically check the tension, especially after initial setup or relocation. Proper tensioning is crucial for optimal picture quality and prevents long-term distortion. Refer to the specific model’s instructions for detailed tensioning procedures.

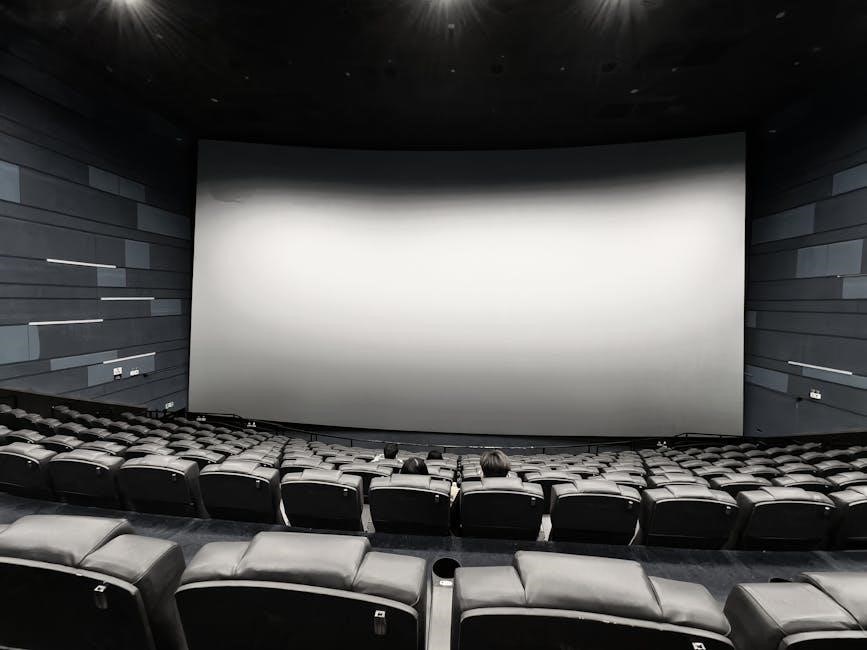
Optimizing Picture Quality
Use the projector’s adjustment mechanism to optimize the picture quality. Adjust focus, zoom, and keystone for a clear, evenly spaced image, maximizing viewing pleasure.
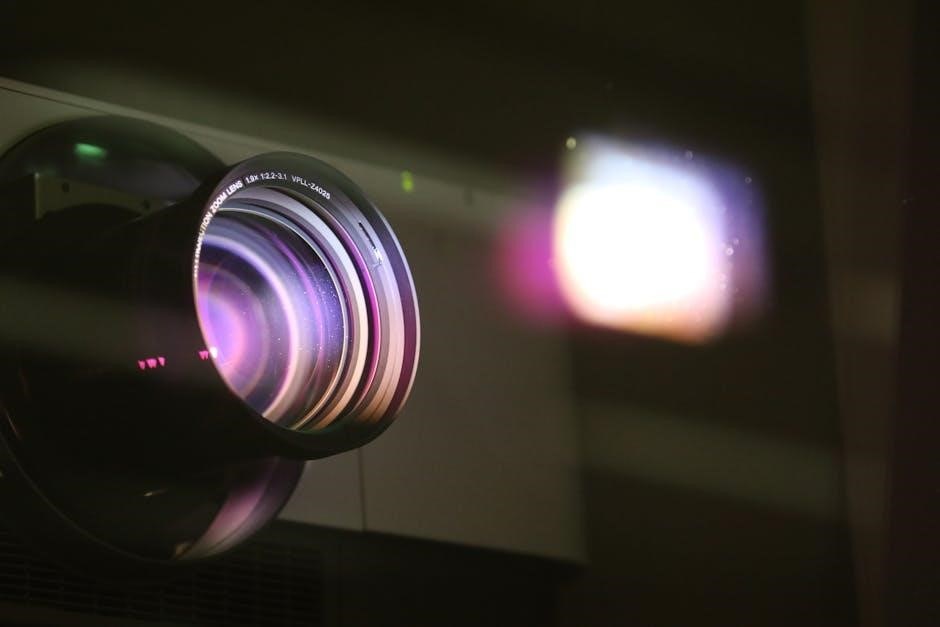
Projector Placement and Alignment
Proper projector placement is crucial for optimal image quality with your Da-Lite screen. Begin by positioning the projector directly in front of the screen’s center, maintaining a perpendicular angle. This minimizes keystone distortion. Consider the projector’s throw distance – the distance needed to achieve your desired image size – as specified in the projector’s manual.
Alignment is key. Ensure the projector lens is at the correct height to fill the screen evenly. Slight adjustments to the projector’s position can dramatically improve the viewing experience. Securely mount the projector to prevent accidental movement. Surfaces should streamline specifications to address highest projector resolutions. Remember to account for any obstacles in the light path.
Focus and Zoom Adjustment
Achieving a sharp image begins with precise focus and zoom adjustments on your projector. Start by zooming the image to fill the Da-Lite screen, ensuring the edges reach the screen’s boundaries without distortion. Then, carefully adjust the focus ring until the image appears crisp and clear across the entire screen surface.
Iterate between zoom and focus for optimal results. Small adjustments can make a significant difference. Utilize any auto-focus features your projector offers as a starting point, but always fine-tune manually. Use the projector’s adjustment mechanism to optimize picture quality. Remember that different content may require slight refocusing for the best viewing experience.
Keystone Correction
Keystone correction addresses trapezoidal distortion when the projector isn’t perfectly aligned with the Da-Lite screen. This feature digitally or optically corrects the image shape, ensuring a rectangular picture. Most projectors offer both vertical and horizontal keystone adjustments.
Use keystone correction sparingly, as it can reduce image resolution. Ideally, physically reposition the projector for optimal alignment before relying on digital correction. Access the keystone settings through your projector’s menu and make incremental adjustments until the image appears geometrically correct. Adjust the focus, zoom, and keystone to ensure a clear, evenly spaced image. Overcorrection can introduce artifacts, so aim for minimal adjustment.
Screen Material Tensioning
Proper screen material tensioning is crucial for a flat, wrinkle-free viewing surface on your Da-Lite projector screen. Many screens, particularly motorized or tensioned models, feature systems to maintain consistent fabric tautness. These systems often involve weighted bars, spring mechanisms, or tab-tensioning.
Ensure the screen material is tight and evenly spaced across the entire surface. Inspect the tensioning system for any looseness or damage. For manual screens, gently pull the fabric taut during setup. Surface streamline specifications address highest projector resolutions. Consistent tension minimizes waves and distortions, maximizing image clarity and uniformity. Regular checks and adjustments will preserve optimal picture quality over time.

Troubleshooting Common Issues
Addressing common problems like wrinkles, image distortion, or operational malfunctions ensures your Da-Lite screen delivers optimal performance and a flawless viewing experience.
Wrinkles and Creases in the Screen
Minor wrinkles are common, especially after storage or transport, and often resolve with use. Gently stretching the material can help; avoid harsh pulling. For persistent creases, a warm (not hot!) iron on a low setting, with a protective cloth between the iron and screen, may be cautiously applied.
Avoid direct heat, as it can damage the screen surface. Tensioning adjustments, if available on your model, can also minimize wrinkles. Proper storage – rolled loosely, not tightly folded – prevents future creasing. If wrinkles significantly impact image quality and gentle methods fail, contact Da-Lite customer support for guidance. Remember, excessive force can cause permanent damage.
Image Distortion
Image distortion, such as a curved or warped picture, usually stems from uneven screen tension or improper projector alignment. First, check the screen material tensioning system – ensure it’s evenly distributed across the surface. Next, verify the projector is positioned directly perpendicular to the screen; even slight angles cause distortion.
Utilize the projector’s keystone correction feature to digitally correct trapezoidal distortion, but be aware this can slightly reduce image sharpness. Zoom and focus adjustments are also crucial. If distortion persists, confirm the screen is securely mounted and level. Contact Da-Lite support if adjustments don’t resolve the issue, providing your screen model number.
Screen Not Lowering/Raising Properly
If your Da-Lite screen fails to descend or ascend smoothly, first check the power connection for motorized screens. Verify the control system (remote or wall switch) has fresh batteries or is functioning correctly. Inspect the screen casing for any obstructions hindering movement.
For manual screens, ensure the locking mechanism is fully released before attempting to lower or raise it. Listen for unusual noises during operation, which may indicate a mechanical issue. If the problem persists, consult the Da-Lite manual for specific troubleshooting steps related to your model. Electrical safety is paramount; disconnect power before any internal inspection.
Motorized Screen Malfunctions
Motorized Da-Lite screens experiencing malfunctions require careful diagnosis. Begin by verifying the power supply and control connections. Check the remote control’s batteries and ensure proper signal transmission. If the motor hums but the screen doesn’t move, a mechanical issue within the roller mechanism is likely.
Electrical safety is crucial; always disconnect power before inspecting internal components. Consult the screen’s manual for specific error codes or reset procedures. If the motor is unresponsive, a faulty motor or control board may necessitate professional repair. Avoid attempting complex repairs yourself, as this could void the warranty and pose a safety risk.

Da-Lite Screen Maintenance
Regular cleaning and proper storage are vital for maintaining your Da-Lite screen’s quality and extending its lifespan, ensuring optimal viewing enjoyment.
Cleaning the Screen Surface
Maintaining a clean screen surface is crucial for optimal picture quality. Da-Lite recommends using a soft, lint-free cloth, gently wiping the screen to remove dust. For more stubborn marks, a mild soap solution – diluted with distilled water – can be applied sparingly to the cloth, never directly onto the screen.
Avoid abrasive cleaners, solvents, or harsh chemicals, as these can permanently damage the screen material. Always test any cleaning solution in an inconspicuous area first. Ensure the screen is completely dry before use. Regular, gentle cleaning prevents buildup and preserves the screen’s reflective properties, delivering a consistently vibrant and clear image. Remember to handle the screen with care during the cleaning process to avoid wrinkles or creases.
Storing Your Screen
Proper storage extends the life of your Da-Lite projector screen. For tripod screens, carefully fold the screen and legs, securing them with any provided straps or fasteners. Wall-mounted or motorized screens should be retracted fully before storage. Store the screen in a cool, dry environment, away from direct sunlight and extreme temperatures.
Avoid storing the screen in areas with high humidity, as this can lead to mildew or damage to the screen material. If possible, use the original packaging for protection during storage. Regularly inspect the stored screen for any signs of damage or deterioration. Careful storage ensures your screen remains in excellent condition for future use, preserving its performance and appearance.
Replacing Parts
Da-Lite offers replacement parts to maintain your screen’s functionality. For minor repairs, such as replacing end caps or screen material retainers, consult the parts diagram in this manual or on the Da-Lite website. Motorized screens may require professional servicing for motor or control system replacements.
Always disconnect power before attempting any repairs on motorized screens. When ordering parts, provide the screen model number and a detailed description of the required component. Improper installation can void the warranty, so consider professional assistance for complex repairs. Genuine Da-Lite parts ensure compatibility and optimal performance, preserving the quality and longevity of your projection system.
Da-Lite Screen Specifications & Models
Da-Lite offers diverse screen series like Cosmopolitan Electrol, Challenger, and Advantage, each with unique features, sizes, and gain specifications to suit various needs.
Cosmopolitan Electrol Series
The Cosmopolitan Electrol Series represents Da-Lite’s premium motorized projection screen line, designed for sophisticated home theater and professional applications. These screens boast a sleek, white case and utilize a quiet, reliable motor for smooth operation.
Key features include a fully motorized design with customizable control options, tensioned screen surfaces to ensure a perfectly flat viewing area, and a variety of aspect ratios to match your projector. Installation requires professional expertise due to electrical components.
Available screen materials include Matte White, Glass Beaded, and High Contrast, catering to different lighting conditions and projection technologies. Datasheets and installation manuals are readily available on Da-Lite’s website for specific model numbers like 34464LS.
Challenger Series
Da-Lite’s Challenger Series offers a robust and portable projection screen solution, ideal for presentations, classrooms, and mobile home theater setups. Commonly featuring a tripod base, the Challenger is known for its ease of use and durability.
Vintage models, like the 48×50 Challenger, are highly regarded for their quality construction and reliable performance. These screens typically utilize a manual pull-down mechanism and are easily foldable for transport and storage. The screen material is generally wrinkle-resistant, providing a consistent viewing surface.
While simpler than motorized options, the Challenger Series provides excellent image quality and value. Ensure the tripod is securely extended and the screen material is taut before use for optimal results.
Advantage Series
Da-Lite’s Advantage Series represents a step up in features and performance, often incorporating enhanced screen materials and more sophisticated mounting options. These screens are designed for both portable and more permanent installations, offering versatility for various environments.
The Advantage line frequently includes tensioned screen surfaces, minimizing wrinkles and ensuring a consistently flat viewing plane. This results in improved image clarity and color accuracy. Many models feature durable casings and smooth operating mechanisms.
Installation can range from simple wall mounts to more complex ceiling mounts, depending on the specific model. Proper alignment and secure mounting are crucial for optimal performance and safety. Refer to the specific model’s installation manual for detailed instructions.

Da-Lite Screen Materials Explained
Da-Lite offers diverse screen materials – matte white, glass beaded, and high contrast – each impacting brightness, color, and viewing angles for optimal projection.
Matte White
Matte white screen material is Da-Lite’s most versatile and widely used option, offering a broad viewing cone and accurate color reproduction.
It’s ideal for rooms with moderate ambient light, providing a neutral surface that doesn’t introduce color shifts.
This material excels with various projector technologies, including LCD, DLP, and laser projectors.
The non-reflective surface minimizes specular reflection, reducing glare and ensuring comfortable viewing from multiple locations.
Da-Lite’s matte white screens are known for their durability and consistent performance over time.
They are a cost-effective solution for home theaters, classrooms, and business presentations, delivering a balanced and natural image.
Glass Beaded
Glass beaded screens utilize tiny glass beads embedded within the screen material to reflect light back towards the audience, significantly increasing brightness.
This makes them particularly well-suited for projectors with lower lumen output or rooms with substantial ambient light.
However, the viewing cone is narrower compared to matte white, meaning the optimal viewing area is more limited.
Da-Lite glass beaded screens deliver a vibrant and punchy image, but can exhibit some specular reflection, potentially causing glare if not properly positioned.
They are often favored for applications where high brightness is paramount, such as large venue presentations or situations with significant wash-out from external light sources.
Careful projector and screen alignment are crucial for optimal results.
High Contrast
High contrast (HC) screens are engineered to absorb ambient light and enhance black levels, resulting in a more dynamic and immersive viewing experience.
These screens employ special coatings or multi-layered materials to minimize reflected light, improving color saturation and overall image clarity.
Da-Lite HC screens are ideal for home theaters or environments where precise control over lighting is possible.
They excel at displaying content with deep blacks and rich colors, such as movies and video games.
However, HC screens typically require a brighter projector to compensate for the light absorption.
Careful consideration of the projector’s lumen output and the room’s ambient light levels is essential for achieving optimal performance. Proper alignment is also key to maximizing contrast benefits.
Safety Precautions
Always prioritize safety during setup and operation! Ensure electrical components are properly grounded, and the screen is stable to prevent accidental falls or injuries.
Electrical Safety (Motorized Screens)
Motorized Da-Lite screens require strict adherence to electrical safety guidelines. Always ensure the screen is properly grounded through a three-prong outlet. Never operate the screen with a damaged power cord or plug; replace them immediately.
Before any maintenance or cleaning, disconnect the screen from the power source. Avoid exposing electrical components to moisture. If the motor exhibits unusual noises or malfunctions, immediately cease operation and consult a qualified technician.
Do not attempt to disassemble or repair the motor yourself, as this could lead to electrical shock or damage. Verify the voltage compatibility between the screen and your power supply. Improper voltage can cause fire hazards or equipment failure.
Screen Stability
Maintaining screen stability is crucial for a safe and optimal viewing experience. For tripod screens, ensure the legs are fully extended and locked into position on a level surface. Avoid placing the screen in high-traffic areas where it could be accidentally bumped or knocked over.
Wall-mounted screens must be securely fastened to wall studs using appropriate hardware. Regularly inspect the mounting brackets for any signs of loosening or damage. Do not overload the screen with excessive weight or pressure.
Motorized screens should have a stable power supply and functioning retraction mechanism. Never obstruct the screen’s path during operation. Prioritize a secure installation to prevent accidental falls or injuries;
Related Posts
bosch dishwasher manual pdf free download
Need a Bosch dishwasher manual? Download a free PDF instantly at JointStuff! Find troubleshooting tips, installation guides & more. Get your dishwasher running smoothly today!

odyssey 1000 manual
Lost your Odyssey 1000 manual? Find a downloadable PDF here & get back to enjoying perfectly rolled joints! Easy access & helpful tips inside.

honda hrx 217 owners manual
Need a Honda HRX 217 owner’s manual? Download it instantly & get back to lawn care! Troubleshooting, maintenance & repair guides – all here. Honda HRX 217.